People ask how to start batik without making a big investment in supplies. I will have to recommend getting some old sheets, some RIT dye or ready-mixed dye at your local craft store, along with paraffin wax and cheap brushes. (DharmaTrading.comhas extensive supplies and that is where I purchased my tjanting tool.)
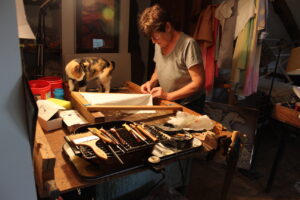
Buy the primary colors of your dye: Red, blue, yellow — and from them you can make infinite combinations. You will also need something to keep your wax hot. An old electric frying pan works well, and wax can be heated in a double boiler. Never put wax directly on the stove, or overheat it, as wax is extremely flammable. You can make something to stretch out of canvas stretchers, or as I have done in my studio, I have added 2x4s and 2x2s to plywood so that I can stretch larger fabric over that to apply the wax.
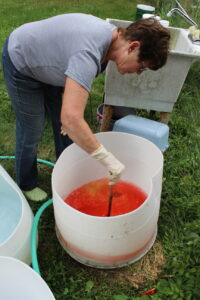
After you have applied your design with a brush or a tjanting, it is ready for your first dye bath. If you want to start with very small batik, you can actually dye fabric in a mason jar. As you get to a larger size, you will probably want to get plastic pails. Immerse your fabric in your dye bath starting with the lightest shade that you want to use, and stir it frequently to keep the color even. The batik should remain in the dye for 15 minutes to half an hour, depending on how strong the dye was mixed and how dark the color is.
After your fabric is appearing a shade darker than you desire (because it is wet), remove it from your dye bath and rinse thoroughly in a tub or sink. At this point, I would normally add a setting stage to my dye process, but as you’re learning, you won’t need to do this.
Once your fabric is dry, you can add another stage of wax to it. And when you’ve finished your design, go on to another dye bath in a slightly darker shade. Here you will notice that some colors are complimentary and will make a nice new combination as yellow and red will make orange. The opposite is true. If you take red and green, you will make brown. So you may want to use test strips as you get ready to dye your fabric. I will do many stages of dye baths as I’m moving on, and at a certain point in the process, very often I will bleach sections out so that I can use colors that would otherwise make a muddy shade.
You don’t need to make a complicated batik with ten dye baths and tons of color combinations. You can remain simple, especially in the beginning. Another thing that you can try is painting dye or even colored inks on small sections of your design, where you have little areas surrounded by wax. This can give you some bright accents of different colors that after they are dry, you can protect with wax and avoid doing a whole dye bath to get these little jewels of color.
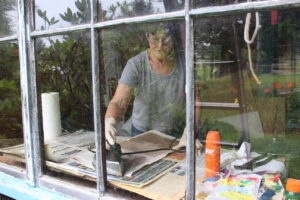
When you are satisfied that you have reached the end of your dyeing, your batik, when dry, will be ready to iron out between paper towel and newspapers, or plain newsprint if you can find it. In the pictures below you will see me ironing my batik out between plain newsprint. If it has print on it, the print can be transferred to the fabric, so never have a newspaper next to your artwork. You can keep it away with paper towel.
After you have ironed as much as you can out, the batik should be completed. The iron also acts to set the dyes a little bit more, and your batik will be ready to frame, add to a wall hanging, or make something fun out of.
My batik process is much more complicated and if you find you like doing batik, I would urge you to go to my other tutorials in my website to see the many other things I do in mixing dyes, painting, setting dye, wax etching and multiple dye baths.
- Attaching fabric to stretching bars
- Applying wax with the tjanting tool
- Applying wax with the tjanting tool
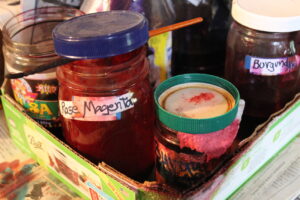
- These are small jars of dye that I use to paint areas of my batik from
- The first dye bath
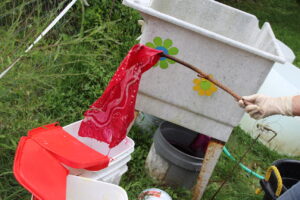
- Out of the dye
- Rinsing out the dye
- Hanging up to dry
- Ironing out the wax
- Ironing out the wax
- Ironing out the wax
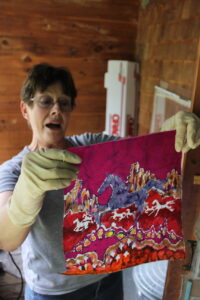
- A finished batik – ta da!
Out of the shadows
Starting with black fabric is an interesting change from how I usually begin with white fabric. It can be a bit difficult seeing where the wax has been applied when you are working with black fabric, but by shining the light a certain way, you do create a reflection that you can build on.
Here is the first wax stage of my new batik, “Thunderstorm,” which will be part of a series of batik with horses from the wind. After this stage, the fabric will be bleached in stages to allow for other colors to be dyed in.
This fabric came from Dharma Trading Company, and is a black cotton/rayon mix. I like to work with Dharma Trading for purchasing my fabric, because they have fabric that is the most suitable for accepting the dye and withstanding the bleaching process (Do not bleach silk!).
A word of caution when bleaching color out: Bleach is very bad to inhale. It should be done outdoors or in a well-ventilated area with a strong exhaust fan. But worse than the bleach itself, is the process of stopping the bleach.
There are three different ways of getting the bleach neutralized:
1. With a bath of acid as in milking system acid. A light addition of this to plain water will help to neutralize the bleach.
2. Vinegar. Not as strong, but is an effective way of getting rid of the bleach if your bleach solution is not too strong.
3. “Bleach Stop”, sodium thiosulfate crystals.
The most toxic of fumes can result with the mix of acid and bleach. In strong situations, it can kill. So I recommend rinsing as much bleach out of the fabric as you can, doing a pre-rinse with the vinegar and water (mostly water), and then putting the fabric into the stronger solution of either Bleach Stop or the milk room acid, mixed with a lot of water. And when in the bath, I would agitate it and let it sit for approximately 15 minutes, after which the bleach will be neutralized, and then rinse in plain water and let dry.
After that point, it can be handled as you would any batik, by dyeing in a new color and proceeding with the normal batik process of waxing what you would want to keep and dyeing. Sometimes I will re-bleach to achieve a wide range of color variations.
Shown here are the first waxing of the new batik, “Thunderstorm,” which I will be working on for some weeks, a protective face mask, which should be worn when working indoors and again only in a well-ventilated area with a strong exhaust fan; and then the tub with several of my bleached batik sitting in the acid rinse. Included are also my finished batik, which is the new “River Sunrise”, “Horse Born from Earth, Water, Sky,” and my old favorite, “Horse Through Web of Fire.”
- River Sunrise
- First waxing on black – Caught in the Thunderstorm
- Horse Born of Earth Water Sky
- Protective mask
- Sitting in the acid rinse
- Horse through Web of Fire
Painting Dye on Fabric – Sunburst
Sunburst was finished last week.
I have worked on it for over a year.It went through many waxing and dyeing stages. It also has been bleached out and re-dyed twice.
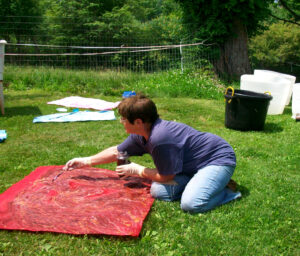
As I came to the final dye bath, I set the dye and dried the batik. I wanted to add some deep red and red violet accents. This part of the batik was painted on at the end with a small brush. Pictures are below of me painting dye directly on this batik.
I then used paper towels to rub the excess dye away and I let it dry. After drying, which allowed the maximum amount of dye to penetrate the fabric, it was rinsed in cold water in my giant tub. Then I immersed it in a tub of water mixed with Dharma dye fixative and stirred it occasionally for 15 minutes.
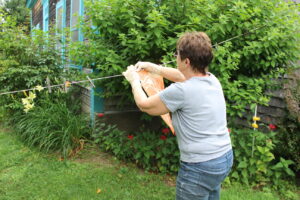
When I removed it, I hung it to dry on the line outdoors in the shade nearby and my batik was released to the wind.
It is now on display at the Saratoga Springs Visitors Center and I hope you will be able to get down to see. Click here for more information about my upcoming events and shows.
Batik infographic
My fans are always asking me how I make my batik art. I thought I would make a poster to show them how it’s done!
This is a simplified explanation of all the steps that are involved, but I thought I should share it with you here on my blog as well.





Tidak ada komentar:
Posting Komentar